ACH and Check Positive Pay
Texas Capital provides a range of fraud solutions to protect your accounts from check and ACH fraud. Protect your payments from check and ACH fraud with ACH Positive Pay, Check Positive Pay, and Reverse Positive Pay. Our automated solutions allow you to quickly upload your check register, view and decision exceptions from our Quick Exception view, run advanced reports, and perform account reconciliation from BankNow.
Table of Contents: |
|---|
Uploading a check issue file via BankNow
Check issue file for Positive Pay services can be uploaded from BankNow. Below steps outline on how to upload your file.
- Log into BankNow.
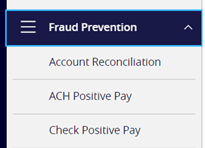
In the left navigation menu of BankNow, click Fraud Prevention then select Check Positive Pay.
3. Select Submit Issued Check File tab.
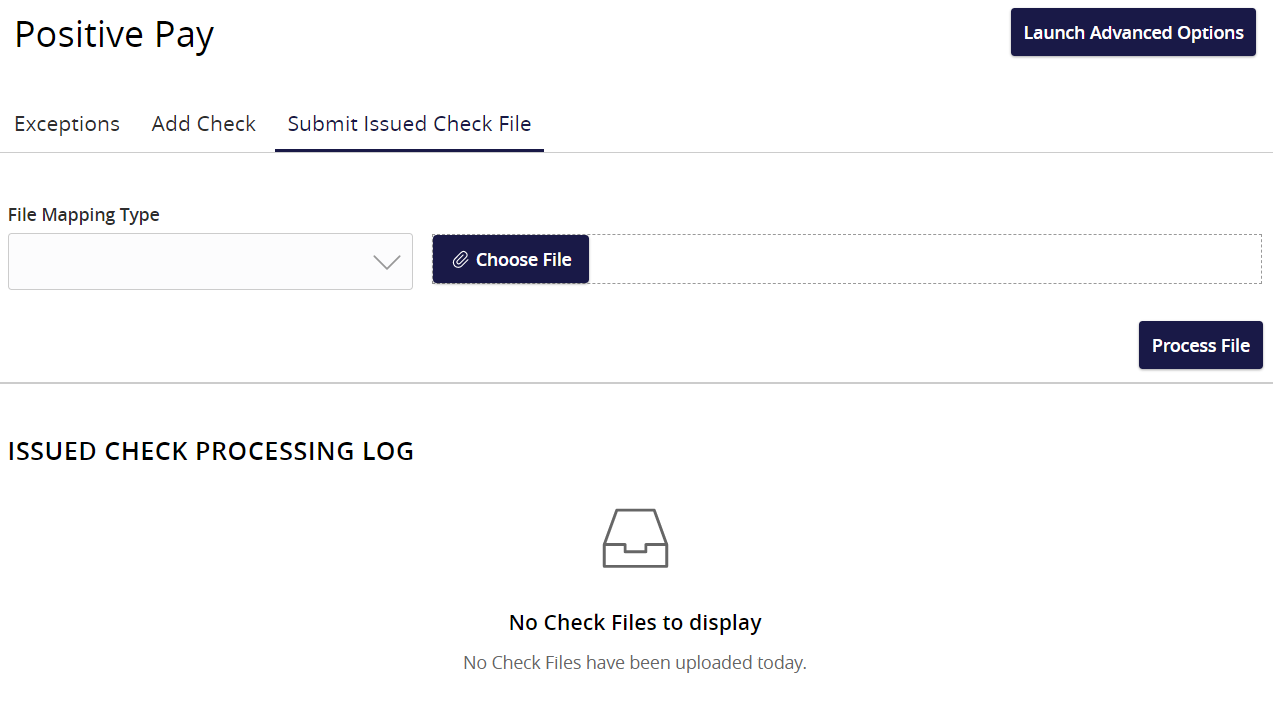
4. Select the File Mapping Type from the drop down list.
5. Click Choose File button to select your file.
6. Click Process File button to upload the selected file.
Viewing and Decisioning Check and ACH Positive Pay Exceptions
View Exceptions is an efficient method of managing exception item activity. Exceptions are created based on the exception type. This page allows you to pay and return decisions on all items in one screen.
1. In the left navigation menu of BankNow, click Fraud Prevention then select Check Positive Pay, ACH Positive Pay or Account Reconciliation. This will direct you to the Positive Pay System – Exceptions tab.
Note: Fraud menu options may vary depending on your fraud services enrollment.
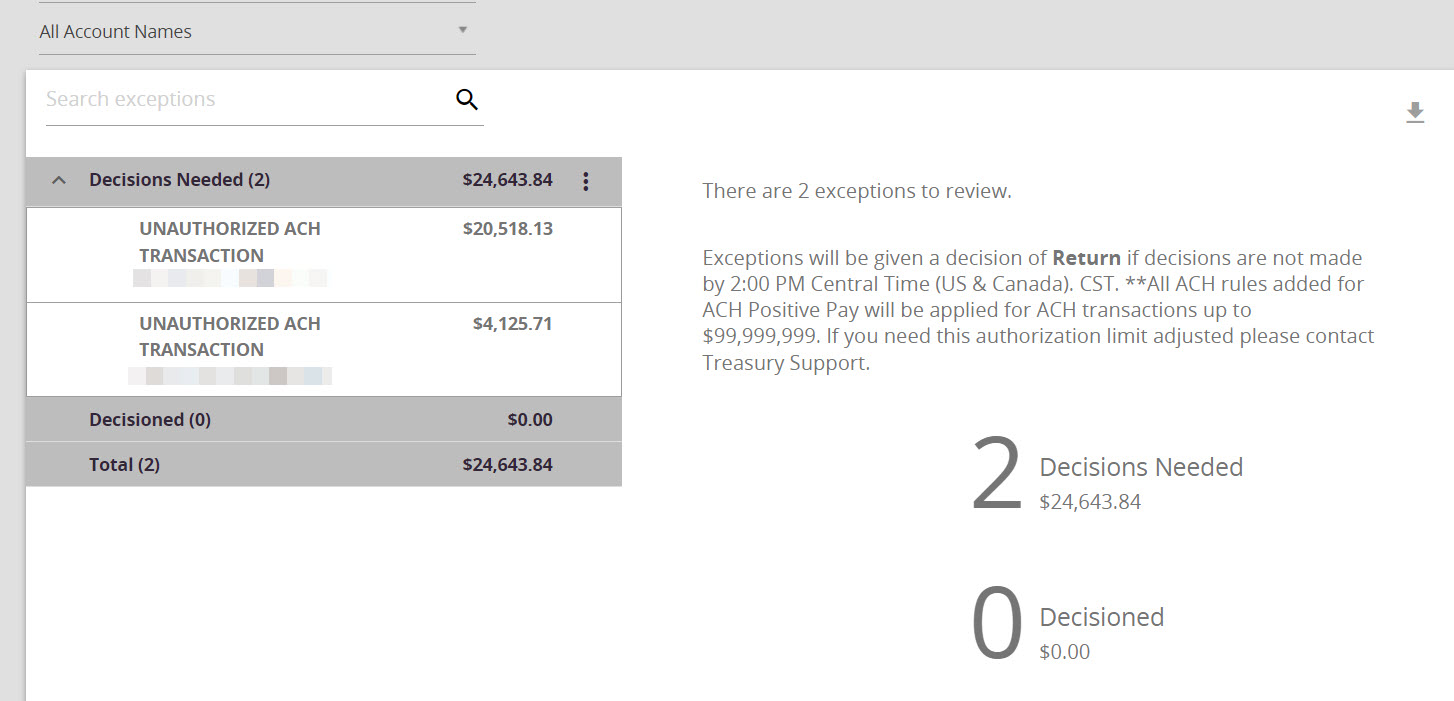
2. ACH and Check Exceptions can be decisioned from the Quick Exceptions View screen. Exceptions for all your accounts will be displayed on this tab. To view exceptions for specific account, click the dropdown arrow under the accounts label and select account to view.
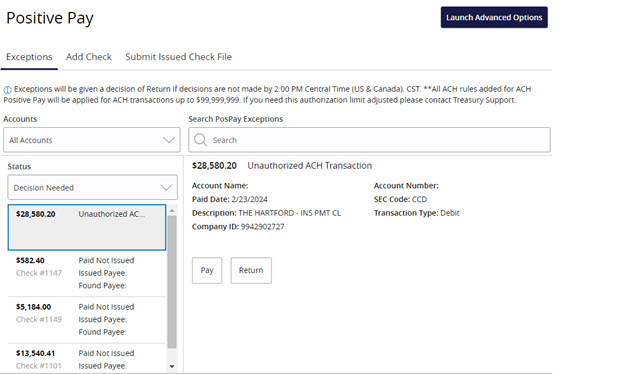
ACH Exception Example
Check Exception Example
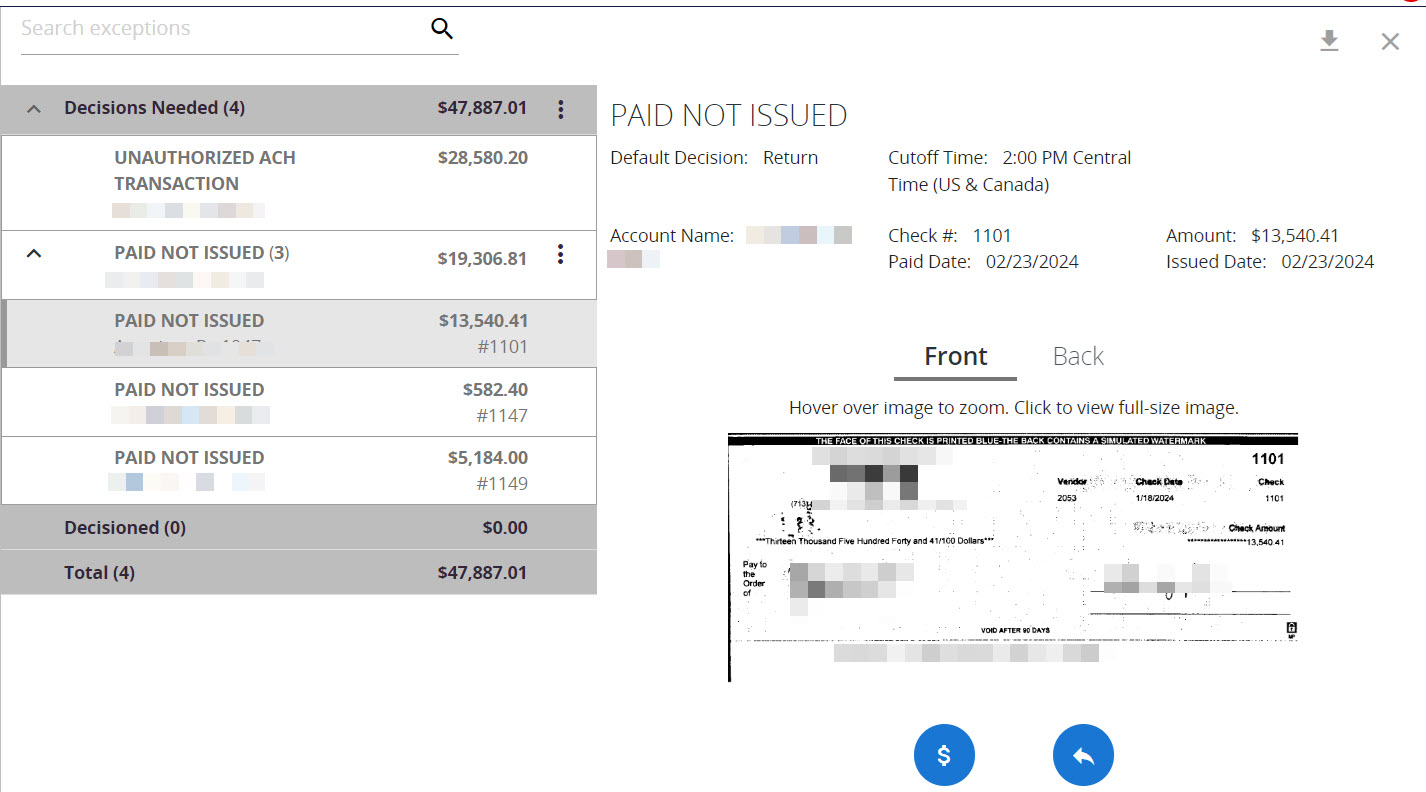
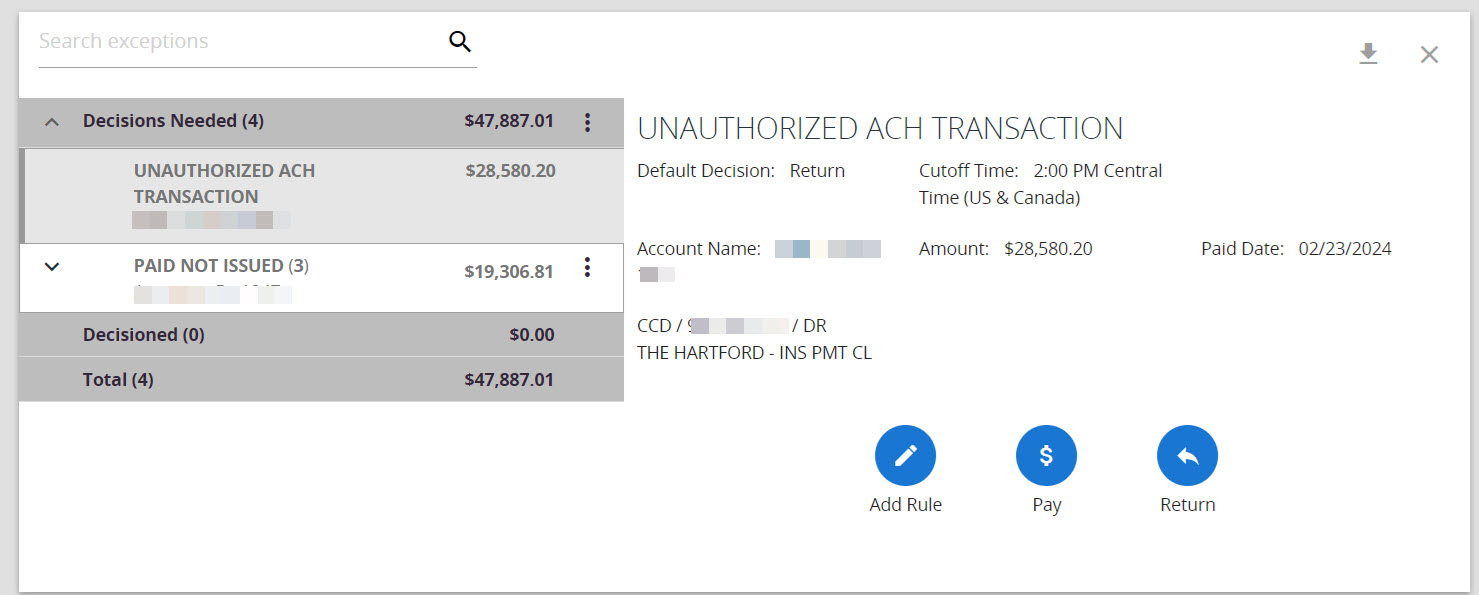
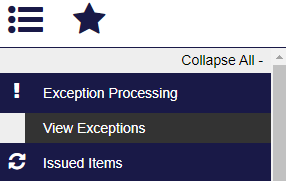
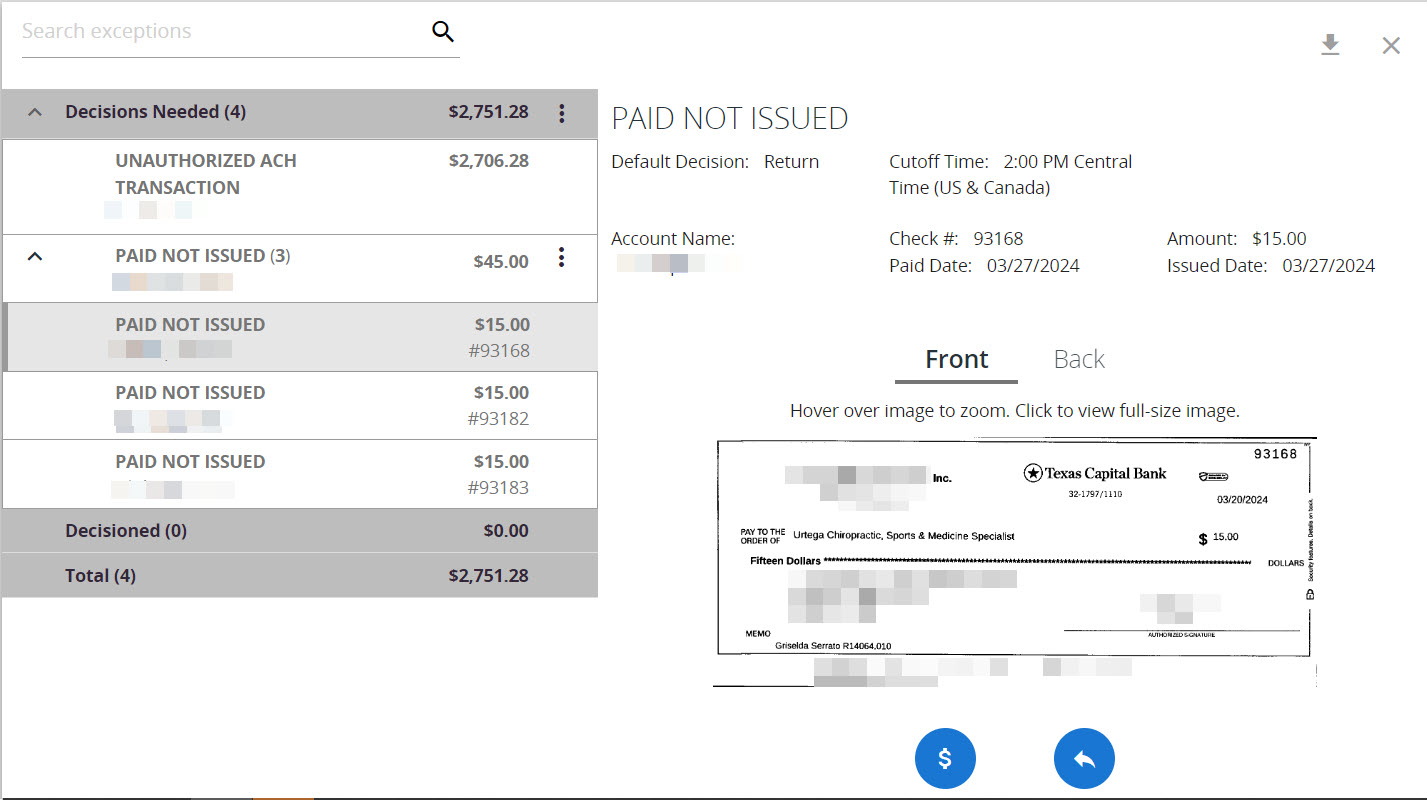
3. To view and decision from Positive Pay, select View Exceptions from the Exception Processing drop-down menu. The View Exceptions page appears.
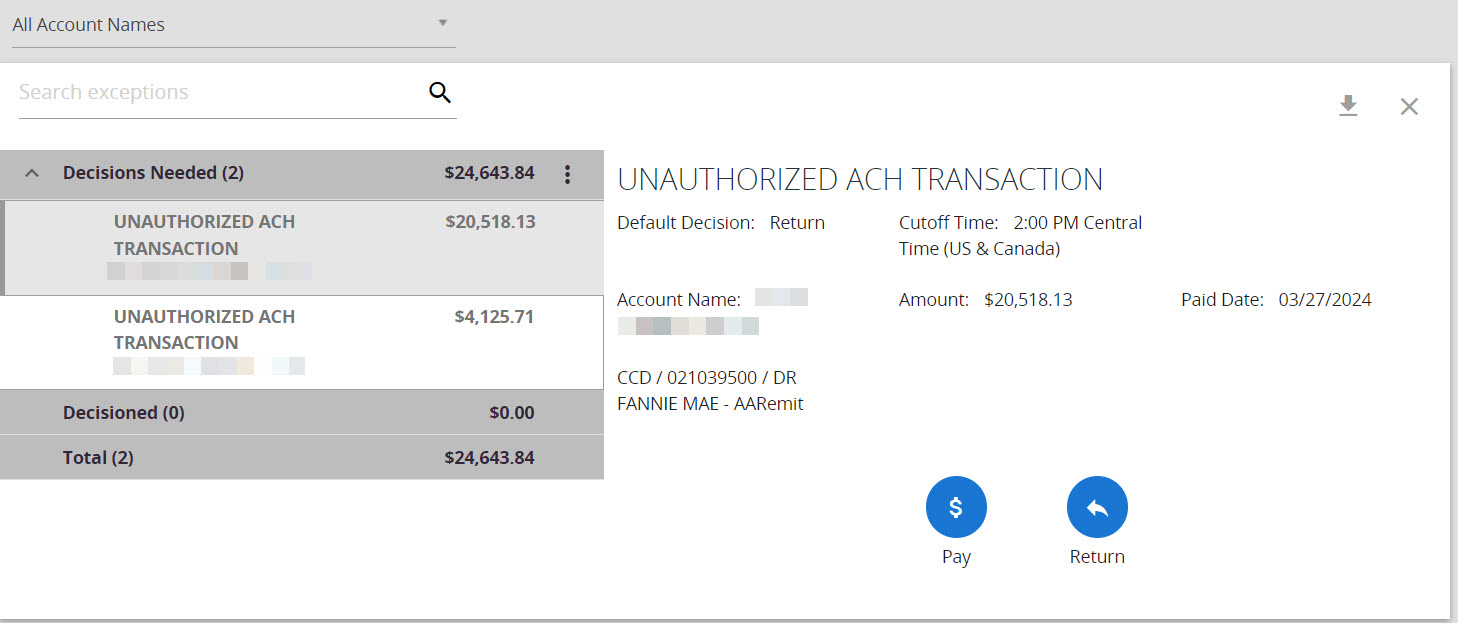
4. ACH and Check Positive Pay transactions that require review and decisioning will be listed under Decisions Needed.
Select the appropriate exception item to view and click either Pay or Return (shown ACH exception transaction). Continue down the list until all exceptions have been reviewed and decisioned.
Check Exception view without Payee Match
Check Exception with Payee Match

ACH Transaction Search
1. In the left navigation menu of BankNow, click Fraud Prevention then select Account Reconciliation. This will direct you to the Positive Pay System.
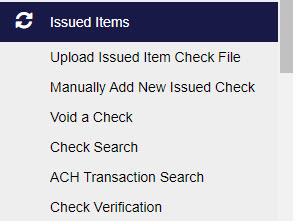
2. Under Issued Items select ACH Transaction Search. The ACH Transaction Search page appears with the search parameters for the ACH transaction.
3. Complete the following fields on the ACH Transaction Search page as necessary. Select Search upon completion of Search Parameters.
Account Name: The available accounts assigned to the client user. Select up to three different accounts.
Paid Date From: The Paid Date field is used to search for a transaction based upon the date the item posted. If searching for a specific date, enter the date in both the From and To date field.
Paid Date To: The Paid Date field is used to search for transaction based upon the date the item is posted. If searching for a specific date, enter the date in both the From and To date field.
SEC Code: To search for transactions based upon ACH Standard Entry Class (SEC) code, select a code from the SEC Code drop-down menu.
Amount: The Amount field is used to search transactions based upon a specific dollar amount or dollar range. If searching for an exact amount enter amount in Amount From and Amount To field. This field can be left blank.
4. Search results can be sorted by Client and filtered by Client, Account Name, CompanyID, SEC Code, DR/CR, Amount, Transaction Description, Paid Date or Status.

5. Select table icon to add or remove columns to display in the search results.

6. Select transaction record and the “…” to view transaction details.

Check Transaction Search
1. In the left navigation menu of BankNow, click Fraud Prevention then select Account Reconciliation, this will direct you to the Positive Pay System..
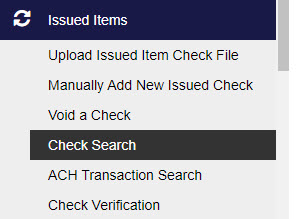
2. Under Issued Items select Check Search. The Check Search page appears with the search parameters for the Check transactions.
3. Complete the following fields on the Check Search page as necessary. Select Search upon completion of Search Parameters.
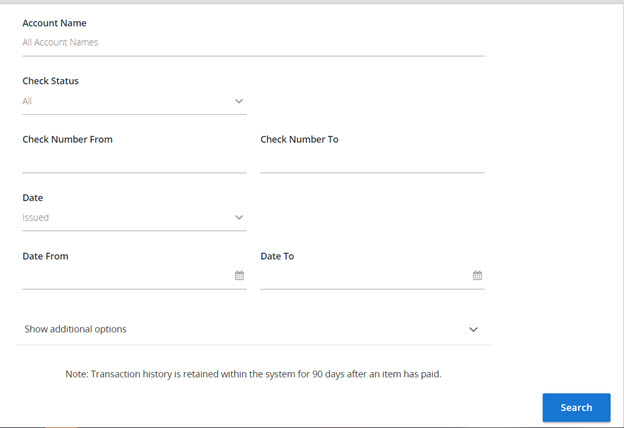
Account Name: The available accounts assigned. Select Account(s).
Check Status: The status of the check you would like to run reporting for. Selection includes: All Status, Exception, Issued/Outstanding, Paid, Returned, Reversal, Stop Payment, Void.
Check Number From/Check Number To: To search for transaction based upon the check number. If you are searching for a specific check number, enter the number in both fields.
Date: The type of date you would like to run the Check Search report for. Selection includes issued, paid, input, exception and void.
Date From/Date To: To search for transactions based upon the date or date range the item was expected. If you are searching for a specific date, enter the date in both fields.
Select down arrow next to Show additional Options for additional search options.
Decision: Limits the search to a specific pay/return decision.
Reason: Limits the search based upon the reason that was selected. Selections include all reasons, duplicate, fraudulent, paid, refer to maker, and stale dated.
Issued Payee: Limits the search to specific payee names. You can enter all or part of the payee name.
Include Reversal: When checked, the search includes reversals.
Voiding a Check
Checks can be voided manually or included in your check issue file. Below steps outline how to void a check manually via the Positive Pay system.
1. In the left navigation menu of BankNow, click Fraud Prevention then select Account Reconciliation, you will be directed to the Positive Pay system.
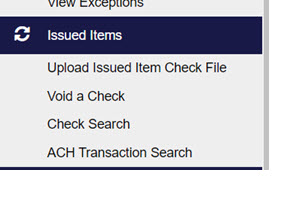
2. Select Void a Check from the left navigation menu.
3. Complete the form displayed on the screen.
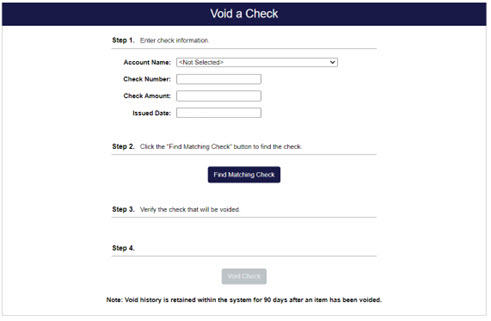
Account Name: Select the account the check is issued on.
Check Number: The number of the issued check.
Check Amount: The amount the check was written for.
Issued Date: The date the check was issued.
Note: All three fields (Check Number, Check Amount, and Issued Date) are required to void a check.
4. Click “Find Matching Check” button to find the check.
5. Verify the check that will be voided.
6. Click the “Void Check” button to complete the void process.
To include Void in the check issue file contact Treasury Support for assistance.